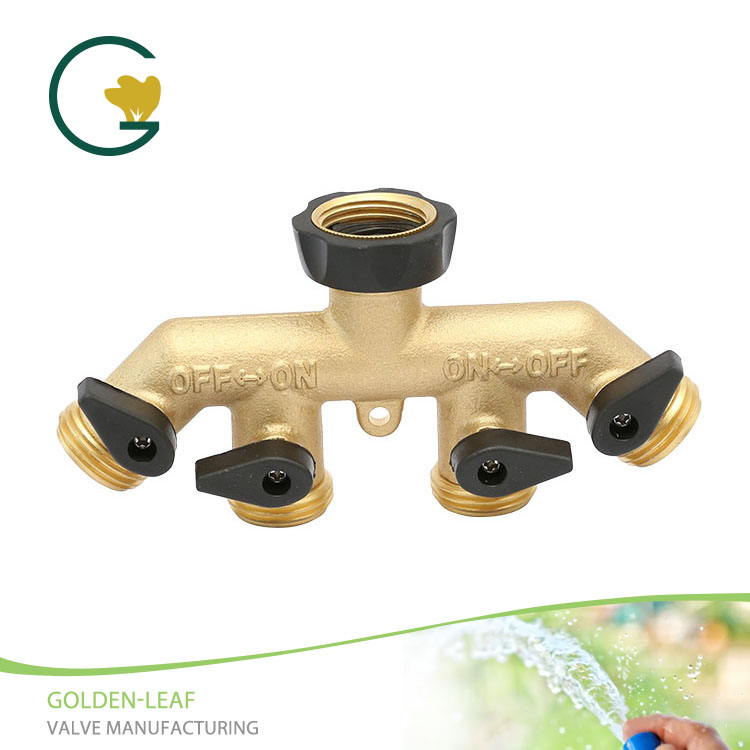
Ensure you have the appropriate brass hose connector that is compatible with the hose and pipe you are connecting.
Gather the necessary tools, such as a wrench or screwdriver (if the connector requires securing screws).
Examine the hose and pipe to ensure they are clean and free of debris or damage, as this will aid in achieving a better seal.
Verify that the sizes of the hose and pipe match the brass connector.
If the connector is being installed onto a pipe, align the connector with the pipe and secure it as instructed by the manufacturer. This often involves inserting the connector into the pipe and tightening any screws or fasteners.
If the connector is being used to join two hoses, ensure the ends of both hoses are flat and insert the connector into each hose end.
Using a wrench or other appropriate tool, gently tighten the connector to ensure a tight, leak-free connection between the hose and pipe.
Avoid overtightening, which can damage the hose or connector.
Before pressurizing the system, visually inspect the connector area for any leaks or loose connections.
After pressurizing the system, recheck the tightness and leakage of the connector.
Regularly inspect the connector for tightness and leaks, especially after pressure or temperature changes in the system.
If leaks or loose connections are detected, take immediate measures to repair or replace the connector.
Remember to always refer to the manufacturer's instructions and guidelines for specific details on using your brass hose connector.
